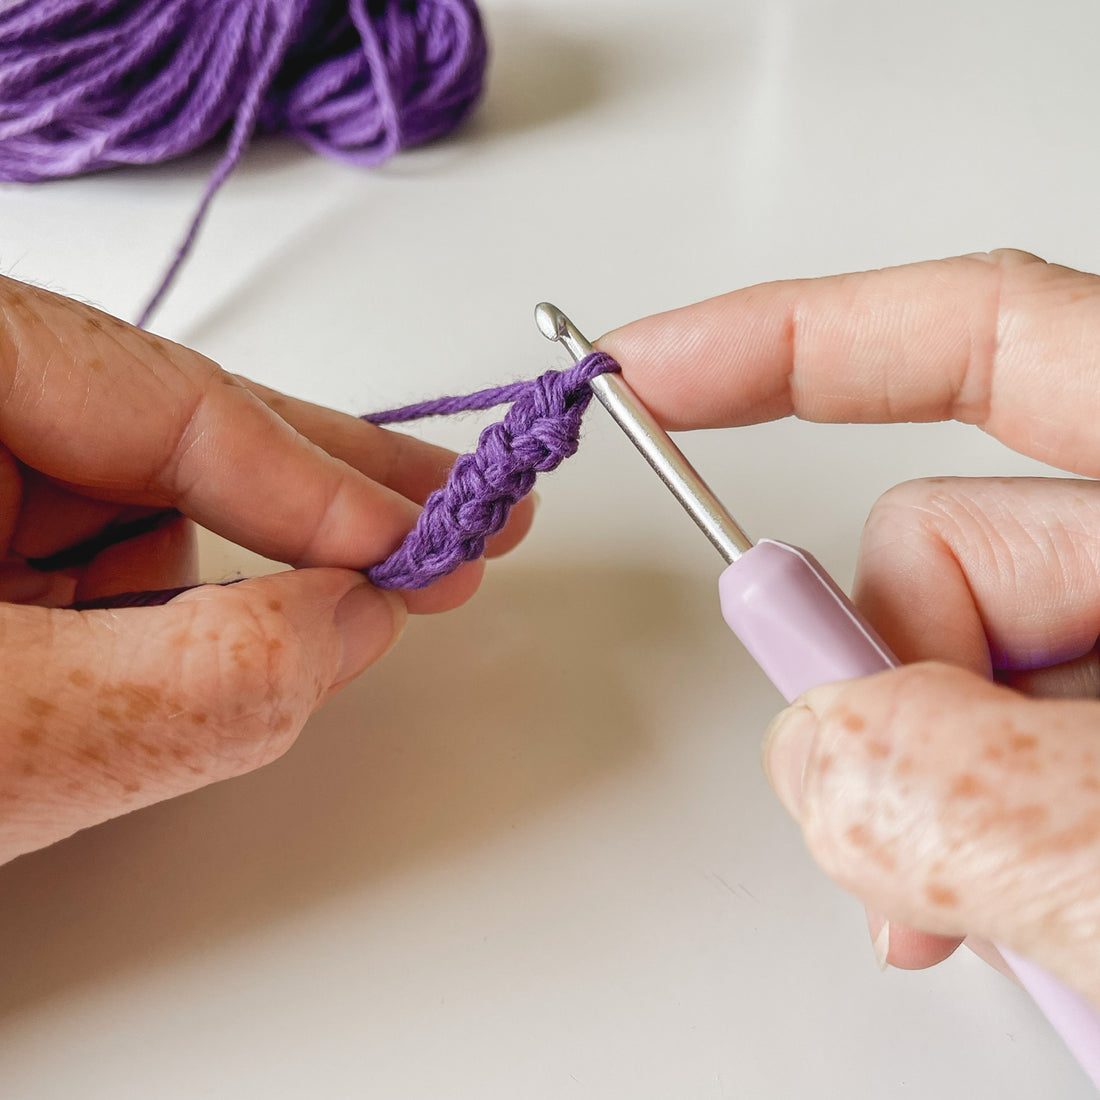
Romanian point cord lace (sometimes called Hungarian point cord lace) is a type of “tape lace” where a main foundation cord or tape is formed into shapes, and then stitches (either with a needle or a crochet hook) are used to fill the spaces between the shapes. The foundation cord is called Romanian point cord, and that’s the technique I’m introducing here. The side loops on the cord is where the filler stitches are anchored.
This technique makes a strong cord that only stretches a small amount. I love using the size 20 thread version of it for jewelry. Keep reading to see how I make and use it!
Quick photo tutorial by Sylver Santika:
How to crochet a Romanian Lace I-Cord – Sylver Santika
More in-depth photo tutorial by me (descriptions are under each group of 4 photos):
Making Romanian point cord with size 20 cotton thread

Top Left: Supplies needed to make cord — size 20 thread and a 1.00 mm hook, I also like to use thread snips to cut my threads. You can use anywhere from a 0.75 mm to a 1.25 mm hook with size 20 thread. This is also great with size 10 thread and a 1.25 mm hook up to a 1.75 mm hook.
Top Right: start with a slip knot on your hook
Bottom Left: chain 2
Bottom Right: Insert hook into 1st chain

Top Left: yarn over and draw up a loop like you are starting a single crochet
Top Right: yarn over and pull hook through two loops on hook
Bottom Left: turn your work by flipping the bottom/right up to the top/left — think about it like you are turning a page in a book
Bottom Right: insert hook in the bar that is crossing the sc you made before you flipped the cord, yarn over and draw up a loop

Top Left: yarn over and pull hook through the two loops left on hook
Top Left: flip cord the same way you did last time, bottom/right to top/left, insert hook into the two bars that are crossing the sc you made before you flipped the cord
Bottom Left: yarn over and pull hook through two loops, leaving two loops on hook
Bottom Right:yarn over and pull hook through two loops, flip cord, and repeat steps in the Top Left, Bottom Left, and Top Right photo until cord is desired length. To finish, chain 1, cut thread leaving a tail, and pull the tail through. You can now sew the tail to a fastener if you want to use the cord for jewelry.

Top Left: This is what your cord will look like after several repeats
Top Right: This is about 4 inches worth of cord done in size 20 thread
Bottom Left and Bottom Right: closer shots of size 20 cord
Making Romanian point cord with worsted weight cotton yarn

Top Left: I used a 3.75 mm hook with this worsted weight cotton yarn (Lily Cream & Sugar) but while you are getting used to this technique a slightly larger hook may be helpful to prevent you from making the stitches too tight to get your hook into! Start with a slip knot on your hook.
Top Right: chain 2
Bottom Left: Insert hook into 1st chain
Bottom Right: yarn over and draw up a loop like you are starting a single crochet

Top Left: yarn over and pull hook through two loops on hook

Top Left: yarn over and pull hook through the two loops left on hook
Top Right: flip cord the same way you did last time, bottom/right to top/left,
Bottom Left: insert hook into the two bars that are crossing the sc you made before you flipped the cord
Bottom Right: yarn over and pull hook through two loops, leaving two loops on hook, yarn over and pull hook through two loops, flip cord, and repeat steps after the flip until cord is desired length. To finish, chain 1, cut thread leaving a tail, and pull the tail through. You can now sew the tail to a fastener if you want to use the cord for jewelry.

Top Left: after 4 repeats of stitch pattern your cord will look like this
Top Right: about an inch and a half of worsted weight cord
Bottom Left: comparison between worsted weight cord and size 20 thread cord
Bottom Right: closer shot of comparison
For my video learners:
Youtube Romanian point lace cord video tutorial by sheruknititng.com:
There are uses of this technique that don’t end in lace! My favorite use of Romanian point cord is to use it as a pendant or bracelet cord:


Have you tried Romanian point cord lace, or any other type of crocheted lacemaking? Let me know if you give it a try!
Sabrina

1 comment
Great instructions! I was able to whip up a simple bracelet in an hour for our family pictures. Also think this would be fun anklet for summer.